
Last updated November 15, 2026
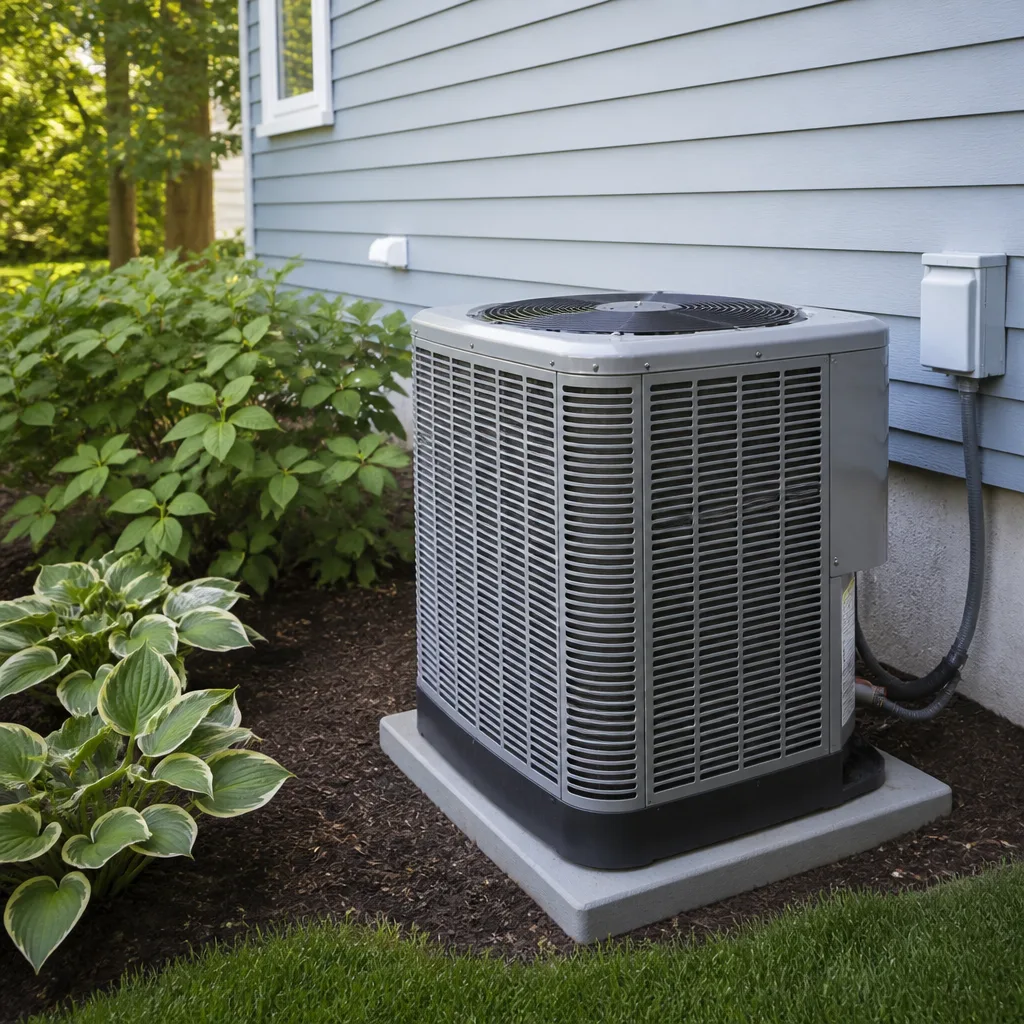 AC repair
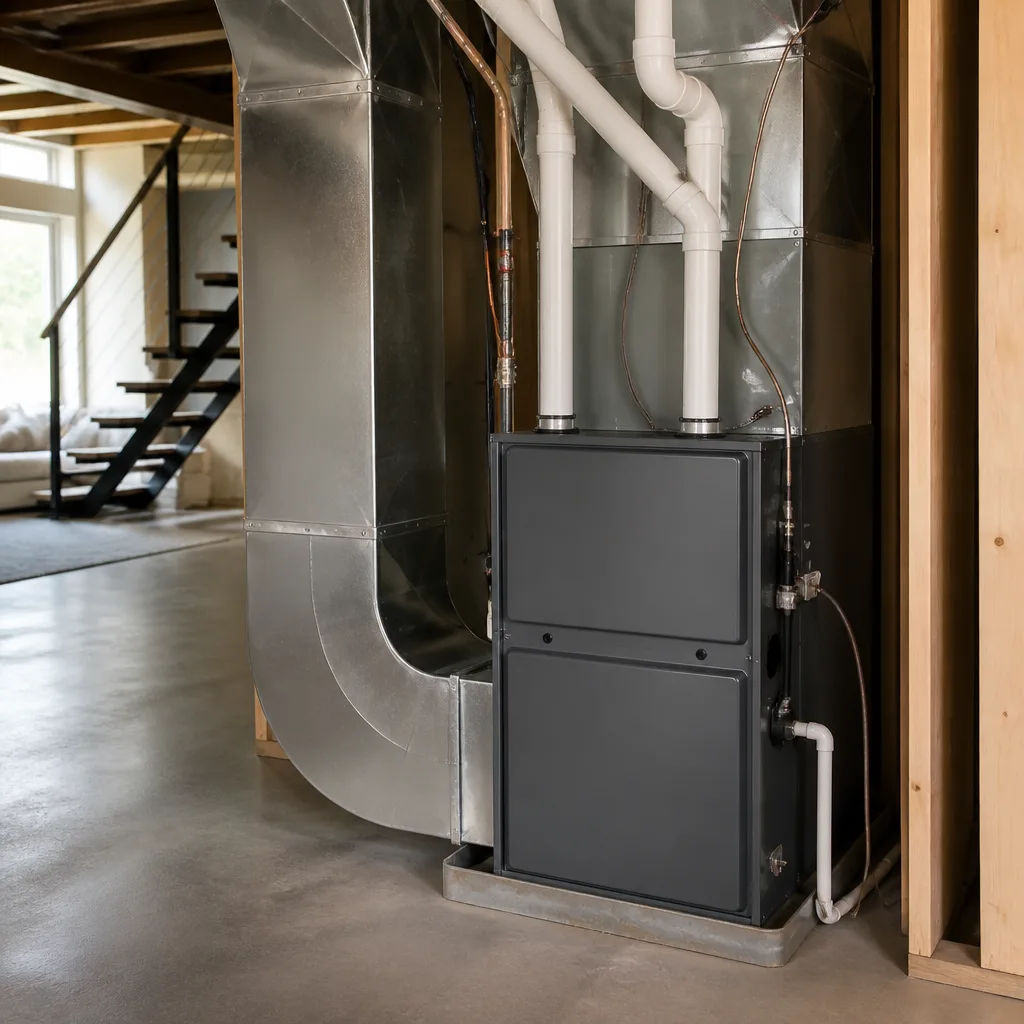 Furnace & heating
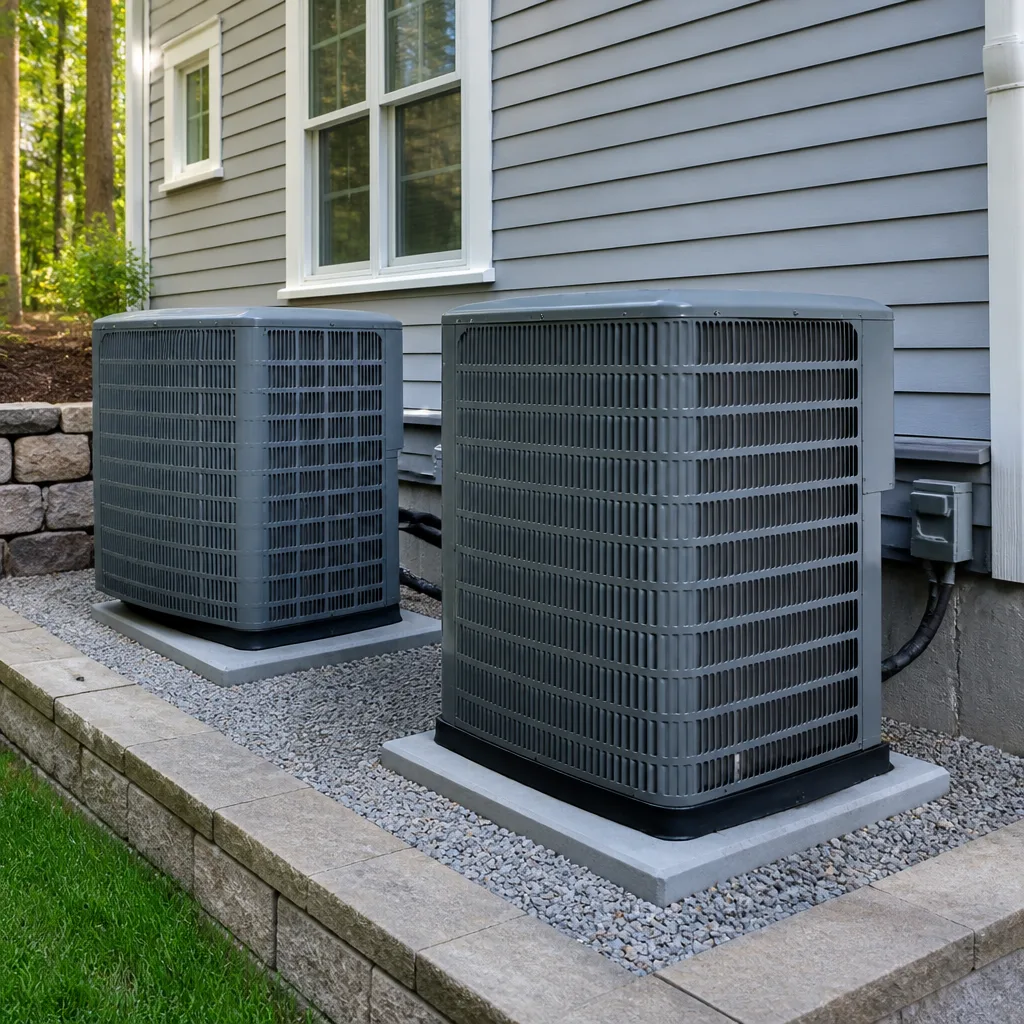 Heat pumps
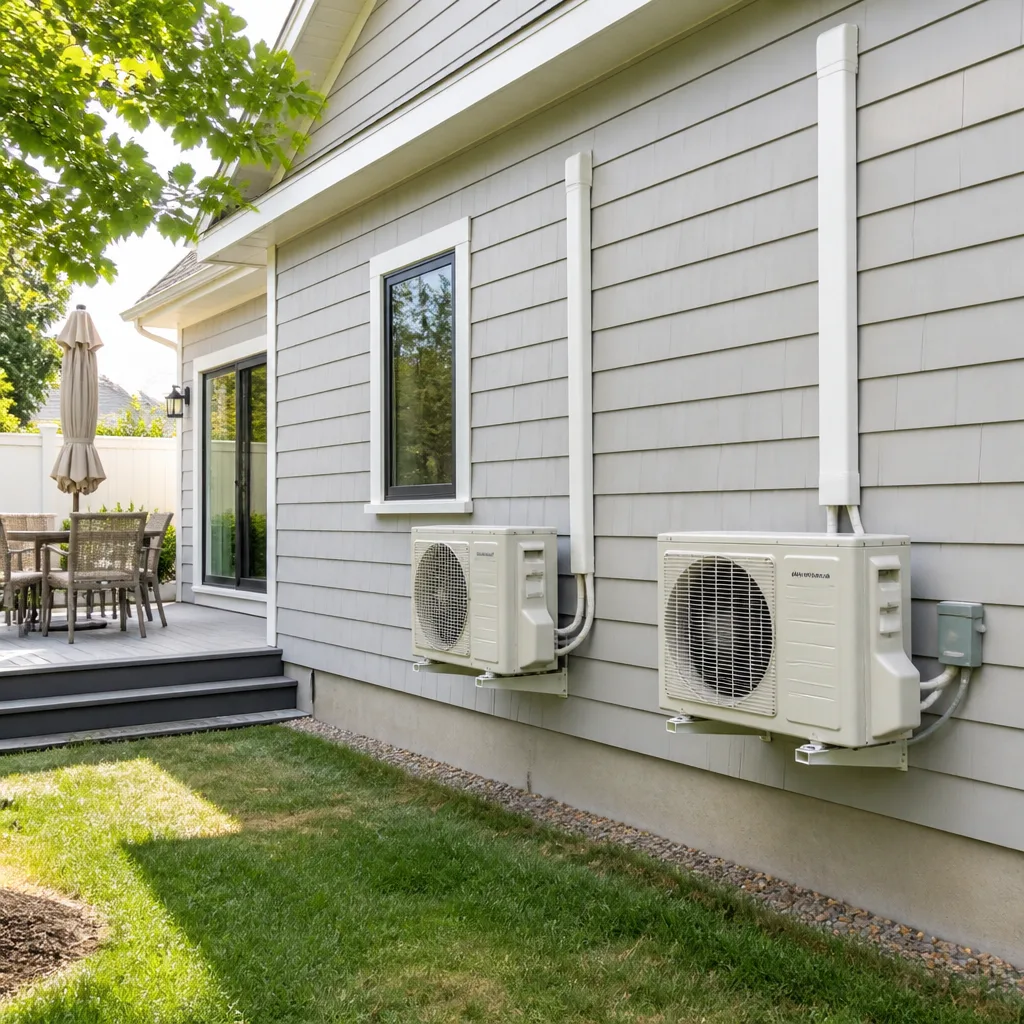 Ductless mini splits
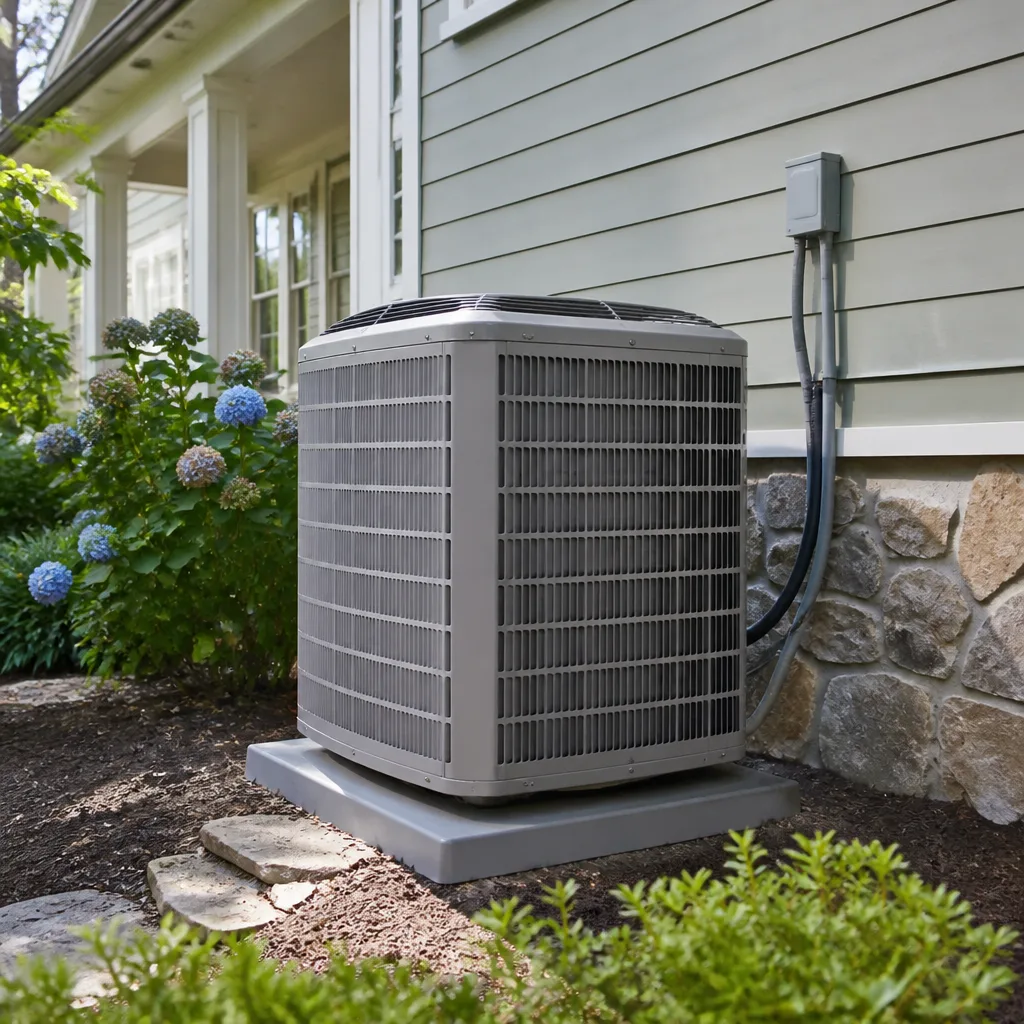 Carrier
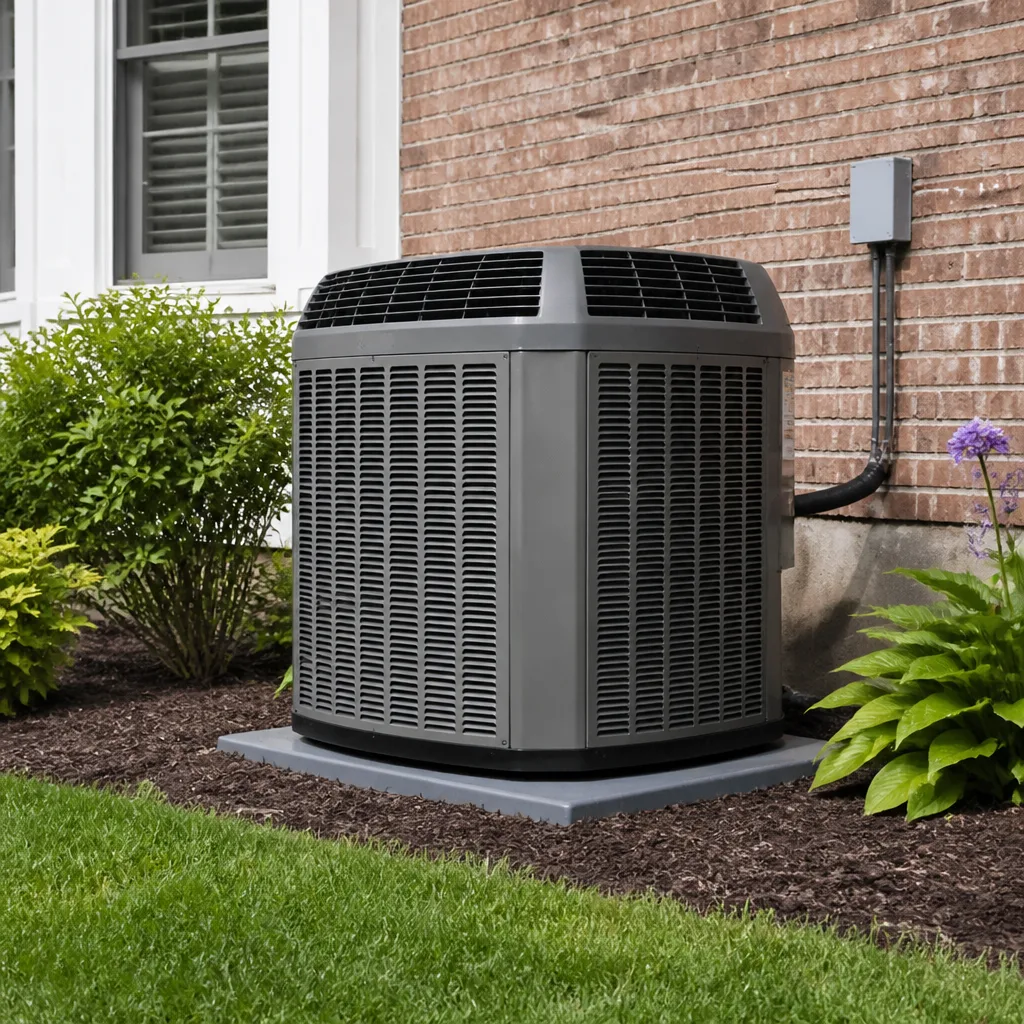 Trane
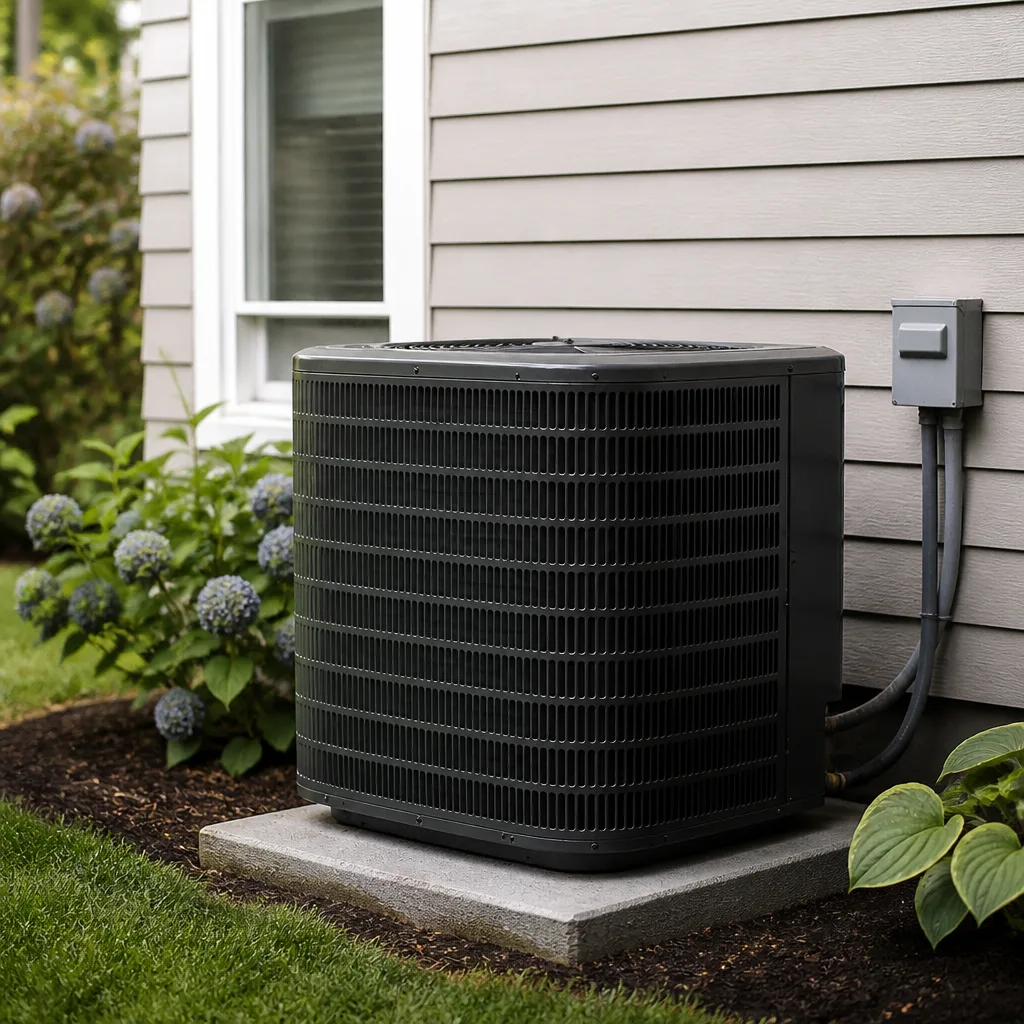 Goodman
Seasonal tune-up and full diagnostic on your Carrier, Trane, or Goodman system - readings shown to you before any repair is proposed
Diagnosis first, numbers second - you approve the repair price before a single part goes in.
Get your free estimateAC Installation Troubleshooting in Pasadena: Common Problems and How to Fix Them
If your brand-new AC is short-cycling, leaving rooms warm, or tripping breakers within weeks of installation, the unit isn’t defective – the installation almost certainly is. That’s the part most homeowners get backwards. A factory-sealed condenser either works or it doesn’t, and when it doesn’t the failure shows up on day one, not on week three when the outdoor temperature climbs past 95°F and the system starts running at full load for the first time. The problems that surface in the first month are almost always the ones a technician created: a charge set by gauge instead of by weight, a duct run sized on a napkin, a drain trap too shallow for Pasadena’s humidity, a low-voltage wire landed on the wrong terminal. This guide walks through each of those failure modes, how to recognize which one you’re dealing with, and how to hold the installing contractor accountable instead of accepting a band-aid that fails again next summer.
Quick Answer
Most AC problems in the first 30 days after installation trace back to installation errors, not bad equipment. Short-cycling usually means an oversized system or a refrigerant overcharge, uneven cooling usually means a duct design problem, water around the air handler usually means an improperly trapped condensate drain, and a system that passed inspection but won’t hold a charge usually has a leaking braze joint or flare connection. Document every symptom with photos, dates, and written communication, then require the installer to fix the root cause under their workmanship warranty before the first cooling season ends.
Styles & brands we work with
- AC repair
- Furnace & heating
- Heat pumps
- Ductless mini splits
- Carrier
- Trane
- Goodman
Table of Contents
- Why Is My New AC Short-Cycling?
- Why Are Some Rooms Still Warm After Installation?
- Can a New AC System Leak Refrigerant After Passing Inspection?
- Why Is Water Pooling Around My New Air Handler?
- Why Is My New AC Tripping Breakers?
- How Do You Document Installation Defects Properly?
- What Should You Check in the First 30 Days?
- Repair the Installation or Replace the System?
Why Is My New AC Short-Cycling?
Short-cycling means the compressor starts, runs for a few minutes, shuts off before the house reaches the thermostat setpoint, then restarts a short time later. In a properly installed system running under Pasadena’s summer load, a cooling cycle should run long enough to pull humidity out of the air – typically 15 to 20 minutes at a stretch, longer on the hottest afternoons. If yours is cycling every five or six minutes, one of three things is happening.
The first suspect is oversizing. A system sized by rule of thumb (“roughly a ton per 500 square feet”) instead of by a proper load calculation will cool the house too fast, satisfy the thermostat, and shut off before it removes meaningful moisture. The house feels cold and clammy at the same time, which is the tell. Oversizing is the single most common installation error we see, and it’s also the most expensive to correct because the only real fix is the right-sized equipment.
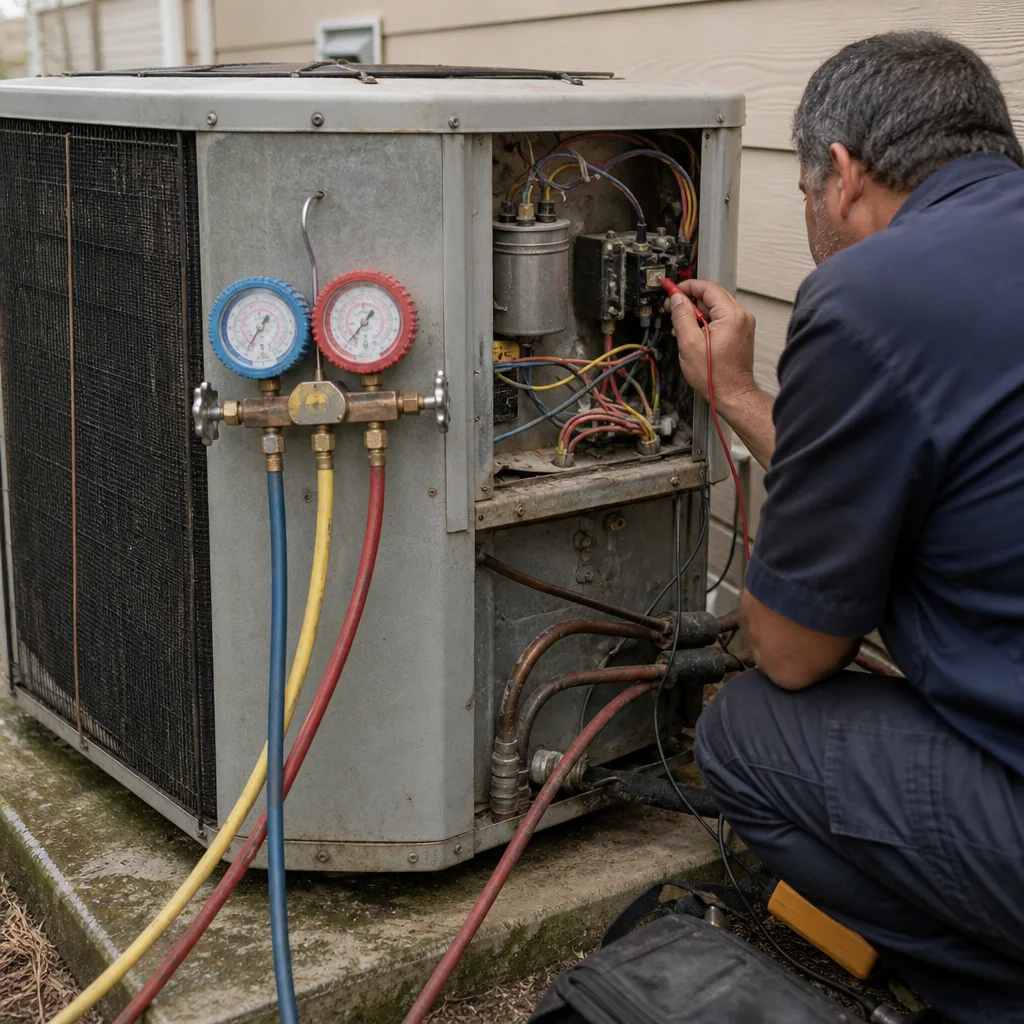
The second suspect is refrigerant overcharge. A technician who charges by “beer can cold” – adding refrigerant until the suction line feels cold to the touch – will almost always overcharge a system. An overcharged system runs higher head pressure, draws more amps, and can trip on high-pressure lockout or short-cycle on internal protection. The correct method is to charge by weight per the manufacturer’s nameplate, then verify with subcooling and superheat readings against the manufacturer’s chart. If your installer can’t produce those numbers in writing, the charge is a guess.
The third suspect is a low-voltage wiring error. The thermostat communicates with the air handler and condenser over a bundle of low-voltage wires, and a single wire landed on the wrong terminal – Y and G swapped, or a common wire tapped incorrectly – can make the system behave erratically: the fan runs without the compressor, the compressor runs without the fan, or the system cycles on a safety switch instead of the thermostat. This one is easy to miss because the system “works” for a while before the symptom shows up. Any of these three should trigger a service call, not a wait-and-see. Paragon AC Repair handles diagnostics on systems from Lennox, Goodman, Rheem, York and five other major brands, so the technician diagnoses the equipment in front of them rather than the brand they happen to sell.
Why Are Some Rooms Still Warm After Installation?
Uneven cooling in the first month is almost always a duct problem, not an equipment problem. The new condenser may be running exactly as designed, but if the duct system can’t deliver the air volume the equipment needs, the rooms at the end of the longest run will never get enough cool air, no matter how hard the compressor works.
Here’s what typically causes it:
- Undersized return air. A system needs roughly 400 cubic feet per minute of airflow per ton of cooling capacity, and the return duct has to be large enough to deliver it without excessive static pressure. Contractors who reuse a 20-year-old return plenum for a larger new system create a bottleneck that starves every room downstream.
- Flex duct run too long or too pinched. Flex duct loses capacity fast when it’s stretched, sagging, or bent at a tight radius. Runs that look fine on a drawing can deliver almost nothing at the far register if the installer cut corners.
- Missing or misadjusted dampers. A balancing damper left wide open on the short run steals air from the long run. Balancing is a real step, and it’s the one most often skipped on installation day.
- Register location. In older Pasadena homes with low ceilings and slab foundations, supply registers are often located near the ceiling on interior walls. That’s workable, but it needs more throw and higher velocity than a ceiling register in a newer home. A one-size-fits-all register swap can make it worse.
The diagnostic step is a static pressure test at the air handler plus a room-by-room airflow measurement at each register. If your installer can’t produce those numbers, they haven’t balanced the system – they’ve just hung duct and left. Rooms that stay warm through an entire cooling season mean the duct design failed, and the fix is a duct redesign, not another service call to add refrigerant. When the ducting itself needs rebuilding rather than patching, that work belongs with an AC installation contractor who can size the entire distribution system, not just the box on the pad.
Can a New AC System Leak Refrigerant After Passing Inspection?
Yes, and it’s more common than most homeowners expect. A local building inspection confirms the installation meets code – the unit is set on a proper pad, the disconnect is in place, the line set is supported, the electrical is correct. It does not confirm the system is leak-tight or that the charge is correct. Those are separate tests, and a system can pass inspection with a slow leak that won’t show up until the charge drops below the level the compressor needs.
The leak usually isn’t in the equipment. It’s at a connection the installer made:
- Braze joints. Every joint in the copper line set is a potential leak if the installer didn’t purge with nitrogen while brazing. Without nitrogen purge, carbon scale forms inside the tubing and can foul the metering device or create a pinhole at the joint.
- Flare connections. If your system used flare fittings instead of brazing (common on some Lennox and Goodman equipment for ease of service), a poorly torqued or over-torqued flare will weep refrigerant slowly.
- Schrader valves and service ports. The valve cores that let a technician connect gauges are a frequent leak source when they’re not tightened properly after service.
What should a proper standing-pressure test show? A leak-free system holds its standing pressure indefinitely, with no drop on the gauge over the test period. A system with a slow leak shows a pressure drop between the initial charge and the reading taken at the end of the test. That test belongs in the commissioning paperwork. If your installer never performed a standing-pressure test – or can’t produce the readings – you don’t know whether your system is leak-tight. A system that needs refrigerant added within the first two years of installation is a system with an installation defect, full stop. That’s not normal wear; that’s a joint that was never right.
Why Is Water Pooling Around My New Air Handler?
Water around the indoor unit in Pasadena is almost always a condensate drainage problem, and the humidity here makes it worse than it would be in a drier climate. An AC system pulls gallons of water out of the air every day during the cooling season. That water has to drain by gravity to a point outside the house, and the trap that makes the drain work has to be built to the right depth.
Here’s why depth matters. The air handler’s blower creates negative pressure inside the cabinet and the drain pan. Without a properly designed trap, the blower can literally suck air back up the drain line instead of letting water flow out. The trap has to be deep enough to overcome that pressure differential. A shallow trap – or worse, no trap at all on a draw-through coil – will either back water up into the pan until it overflows or prevent the pan from draining at all. The result is water on the floor, water in the ceiling below an attic unit, or a rusted cabinet that fails years before its time.
There’s a second, subtler failure that shows up here: an oversized system removes less moisture per cycle than the right-sized system would, because it satisfies the thermostat before the coil runs long enough to pull humidity out. The air handler still has condensate to drain, but the pan never fully dries between cycles. Over a Pasadena cooling season, that’s a persistent damp environment around the cabinet. It’s why trap depth and equipment sizing are connected problems, and why a technician who only fixes the standing water without checking the sizing is treating a symptom.
The correct install has a trap sized to the unit’s rated static pressure, a drain line pitched continuously downhill with no traps or sags, and a secondary overflow pan with a float switch that shuts the system down if the primary drain plugs. If your installer didn’t put a float switch on the secondary pan, that’s a defect worth raising in writing. It’s the difference between a shutdown and a ceiling repair. A system that’s losing water in the first season will keep losing it until the trap is rebuilt correctly.
Why Is My New AC Tripping Breakers?
Repeated breaker trips on a new AC point to one of four causes. Electrical is one place where we don’t recommend homeowners troubleshoot beyond resetting the breaker once – the panel and the circuit are genuinely dangerous, and the cost of getting it wrong is injury.
- The breaker itself is undersized or worn. The nameplate on the condenser lists the minimum circuit ampacity and maximum overcurrent protection. A breaker smaller than the nameplate allows will trip on a normal startup surge. A worn breaker, especially in an older Pasadena panel, trips more easily than its rating suggests.
- The disconnect or wiring is undersized. If the installer reused existing wiring sized for a smaller old unit, the larger new compressor will draw more current than the wire was designed for. Voltage drop and heat build up until the breaker opens.
- A failing compressor or capacitor. Locked-rotor condition on the compressor draws locked-rotor current – several times the running amps – and trips the breaker on every attempt. A weak capacitor can produce the same symptom as it struggles to start the compressor.
- A grounded wire. A wire that’s chafed against the cabinet, the line set, or a knockout will fault to ground and trip the breaker intermittently. This is the one that’s genuinely dangerous, because the ground path may not be what fails – a person can be.
The right diagnostic step is a technician measuring actual running amps against the nameplate rating, checking the capacitor with a meter, and inspecting every electrical connection from the panel to the disconnect. If the diagnosis is “the compressor is bad,” the next question is whether the installation damaged it. A compressor that fails in the first month was either defective from the factory or damaged on the pad during installation – and a tech who’s worked on Trane, York, and Rheem equipment can usually tell which. If the equipment’s under warranty but the installer can’t produce the installation paperwork, the warranty claim itself can get messy. That’s why the next section matters.
How Do You Document Installation Defects Properly?
Documentation is what turns a complaint into a legal claim, and it’s the step most homeowners skip. In Texas, a contractor’s workmanship warranty is a contractual obligation – not a courtesy – and the state’s deceptive trade practices framework gives homeowners real leverage when a contractor refuses to honor it. But leverage only works if you can prove what happened, when, and what you asked for.
Here’s the process we recommend, in order:
- Photograph everything, dated. Your phone’s camera timestamps are your strongest evidence. Photograph the equipment nameplate, the model and serial numbers, the electrical panel, the air handler, the drain pan, and every symptom as it shows up. If water is pooling, shoot the water and the cabinet in the same frame. If the breaker is tripped, shoot the panel with the trip visible.
- Log every symptom with the date, time, and outdoor temperature. Short-cycling at 100°F means something different than short-cycling at 85°F. The pattern is the evidence.
- Put every request in writing. Email or text beats phone. State the symptom, the date you first saw it, the date you reported it, and what you’re asking the contractor to do (“Please diagnose the refrigerant charge and provide the subcooling and superheat readings in writing”). Save the reply, even if there isn’t one.
- Request the commissioning paperwork. The installer should be able to produce the load calculation, the equipment startup readings, the standing-pressure test, the airflow measurements, and the refrigerant charge verification. If they can’t, that absence is itself evidence of an incomplete install.
- Get a second opinion in writing. An independent diagnosis that names the defect is worth more than a hundred emails. Have the second technician put their findings on letterhead with the specific defect stated.
- Escalate if the warranty isn’t honored. A written demand letter that cites the contract, the dates, the diagnosis, and the manufacturer’s installation requirements usually brings a response. Texas’s consumer protection framework applies to home improvement work and to the way a warranty is (or isn’t) honored. That’s the practical enforcement backstop if informal requests fail.
The pattern that gets results isn’t the loudest complaint – it’s the most organized one. A homeowner with dated photos, a written log, and an independent diagnosis in hand is in a fundamentally different position than a homeowner who’s had the same phone conversation six times. If you’re in Pasadena and the installation is failing, get the documentation right first. It costs nothing and it changes the entire conversation.
What Should You Check in the First 30 Days?
The first 30 days are the window when an installation’s flaws reveal themselves and the contractor’s workmanship warranty is at its strongest. Treat that month as your walkthrough. Not every item on this list needs a technician – some you can check from the thermostat – but every one of them is worth noting.
- Measure the temperature split. Take a thermometer reading at the return grille and at the supply register closest to the air handler once the system has run for 15 minutes. A properly charged and ducted system should show a supply-to-return difference somewhere around 15°F to 20°F. A number well below that range suggests low charge, restricted airflow, or a duct problem. A number well above it suggests an airflow restriction that will eventually freeze the coil.
- Time the cooling cycles. On a hot Pasadena afternoon, note how long the system runs from start to shutdown. If it cycles in under 10 minutes repeatedly, that’s a problem.
- Walk every room with a thermometer. Every conditioned room should cool to within a few degrees of the thermostat setpoint with doors and windows closed. A room that stays 6°F or more warmer is a duct problem.
- Check the drain line daily for the first week. A small cup under the outdoor drain discharge (or a visual check of the primary drain pan) will tell you if water is moving. Standing water in the pan or dripping from the cabinet means call the installer.
- Feel the return grille. It should pull a strong, steady stream of air. A weak return means a filter problem or an undersized return duct.
- Listen at startup. Any new rattle, buzz, or clicking that wasn’t there on day one should get reported in writing, even if the system is cooling fine.
- Verify the filter. A new install should have a clean filter and a filter size marked at the grille. If the installer used a filter that’s too restrictive for the system – common on 1-inch filters in undersized returns – airflow will suffer from day one.
The same logic applies to furnace repair and heating-side installations. HVAC systems are two halves of one distribution system, and the airflow setup that serves the AC in July also serves the furnace in January. Whatever brand of equipment you have – Carrier, Trane, Lennox, Goodman, Rheem, York, Daikin, Bryant, or American Standard – the installation standard is the same: proper sizing, correct charge, adequate airflow, working condensate drainage, and a commissioning record. One contractor, every season, is how that standard gets held.
Repair the Installation or Replace the System?
This is the honest answer that most contractors won’t give you: if the installation is defective within the first year, repair the installation first. Live with the corrected system for a full cooling season before you make any decision about replacement. The equipment is probably fine. The faults are almost always correctable – add refrigerant, adjust the charge, rebuild the drain trap, redesign the duct run, replace a miswired thermostat cable. Each of those is a fraction of what replacement costs.
The one exception is oversizing. If a load calculation shows the system is significantly larger than the house needs, there’s no adjustment that fixes it. You can drop the fan speed, adjust airflow, and compensate at the margins, but a two-ton system in a house that needs a ton and a half will never remove humidity correctly. In that case, the right fix is replacement with correctly sized equipment – and the fair outcome is that the installing contractor absorbs the cost, not you. That conversation goes much better with a load calculation in hand than with a service-call invoice and a complaint.
Replacement decisions get a bad reputation because they’re pushed too early. At Paragon AC Repair, our brand-agnostic position means we don’t have a preferred manufacturer to upsell – the recommendation follows the diagnosis, not the inventory. If a system can be corrected, we say so. If it genuinely needs replacement, we explain exactly why the diagnosis points there, and we handle the replacement under the same contractor who did the diagnosis, so nobody’s pointing fingers at the other company. That’s the point of a single-contractor relationship that covers both heating and cooling – whatever equipment is on the pad, and whatever season it fails in, the diagnosis and the fix come from the same place.
Common Mistakes to Avoid
- Accepting “it just needs a little Freon” on a six-week-old system. Refrigerant doesn’t get consumed; it leaks. A new system that needs refrigerant added has a leak at an installation joint, and adding refrigerant without finding the leak postpones the problem to next summer, when the leverage is gone.
- Skipping a load calculation because the contractor said “we can eyeball it.” Pasadena homes vary widely in age, insulation, and window configuration. A system sized by eye is sized wrong nearly every time it’s sized. Ask for the load calculation in writing before the equipment is ordered.
- Letting the installer reuse the old line set and old return duct to save cost. Old line sets often leak from prior service, and old return plenums are rarely sized for new equipment. The savings show up on the invoice and again, five times larger, on a repair bill three years later.
- Not asking for commissioning readings. The refrigerant charge, subcooling, superheat, static pressure, and airflow measurements belong in the handover packet. If they weren’t recorded, the install wasn’t commissioned, and you have no baseline for the next technician to work from.
- Calling a different contractor for the warranty fix. A third-party repair on a system under warranty can give the installer an excuse to disclaim the workmanship defect. Go back to the installer first, in writing, before you bring in anyone else for the fix.
- Ignoring the float switch. A secondary drain pan without a float switch is a one-condensate-plug-away-from-a-ceiling-repair. Ask for one at install, and get it in writing.
- Letting the thermostat choice drive the install. The equipment selection comes first, then the thermostat that matches its capabilities. A thermostat that isn’t compatible with the new system’s stages or dehumidification function can create its own set of operating symptoms in the first month.
See the difference
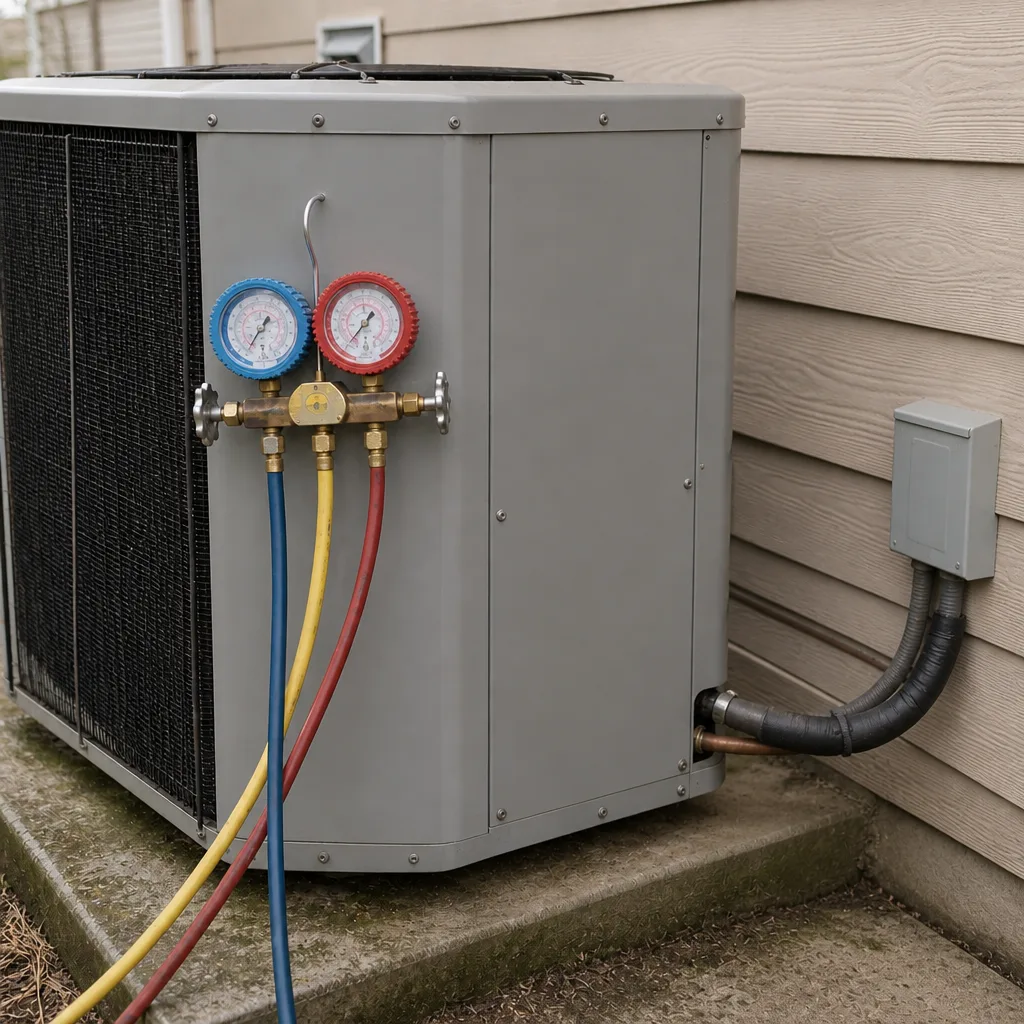
 Before
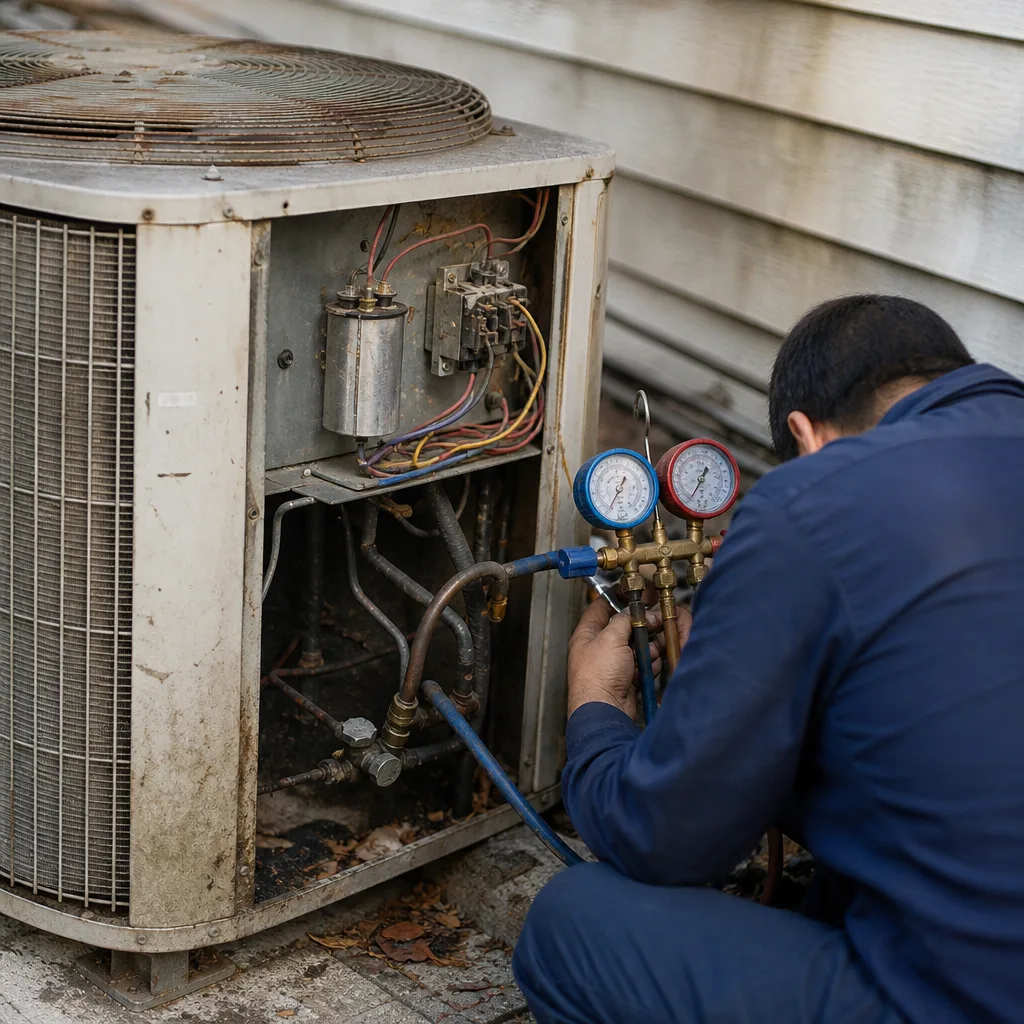
 After
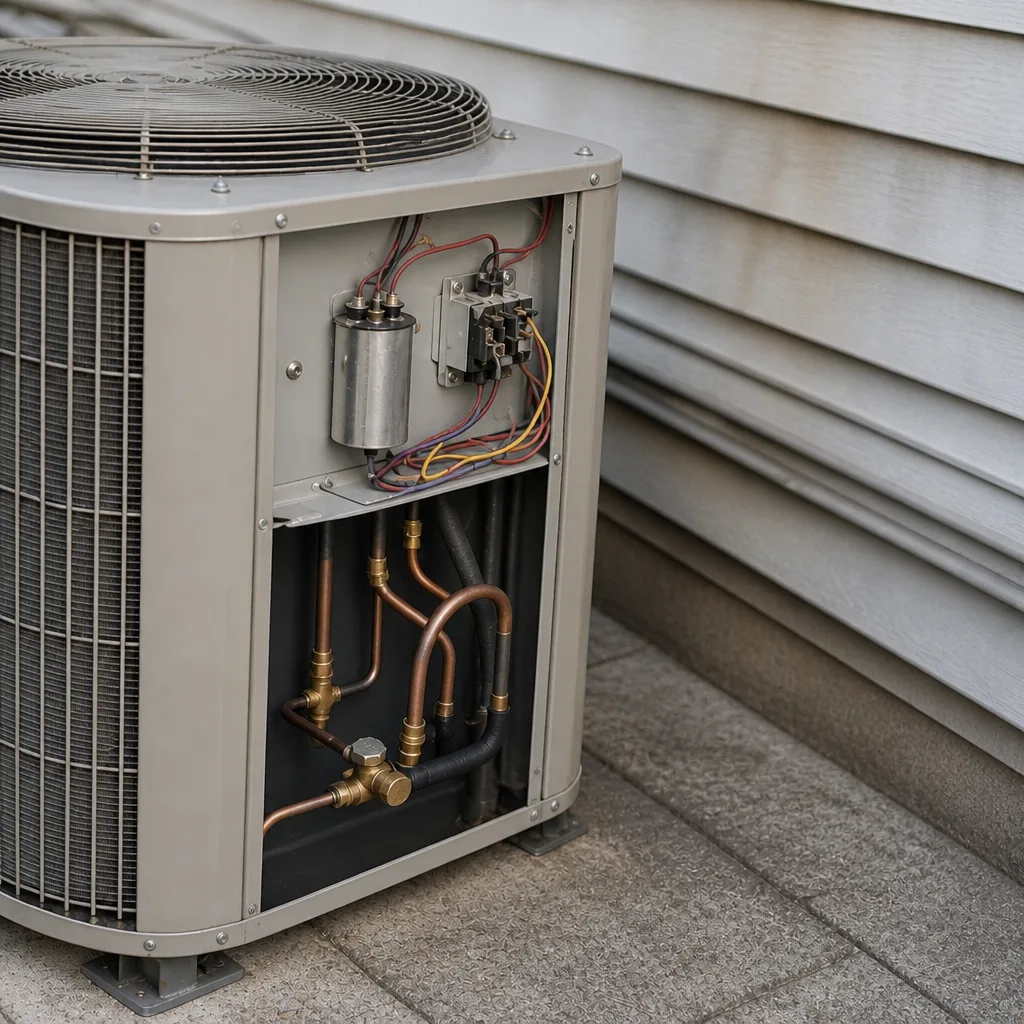
 Before
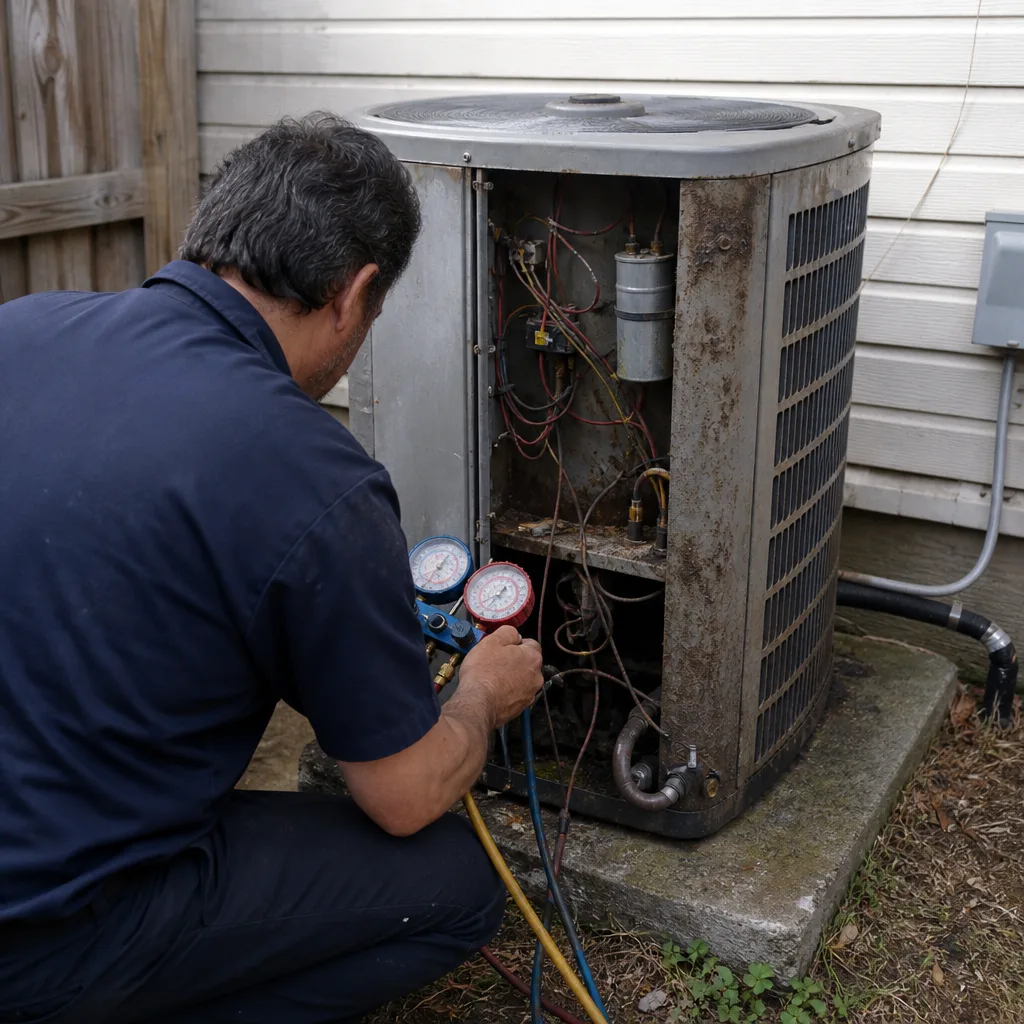
 After
 Before
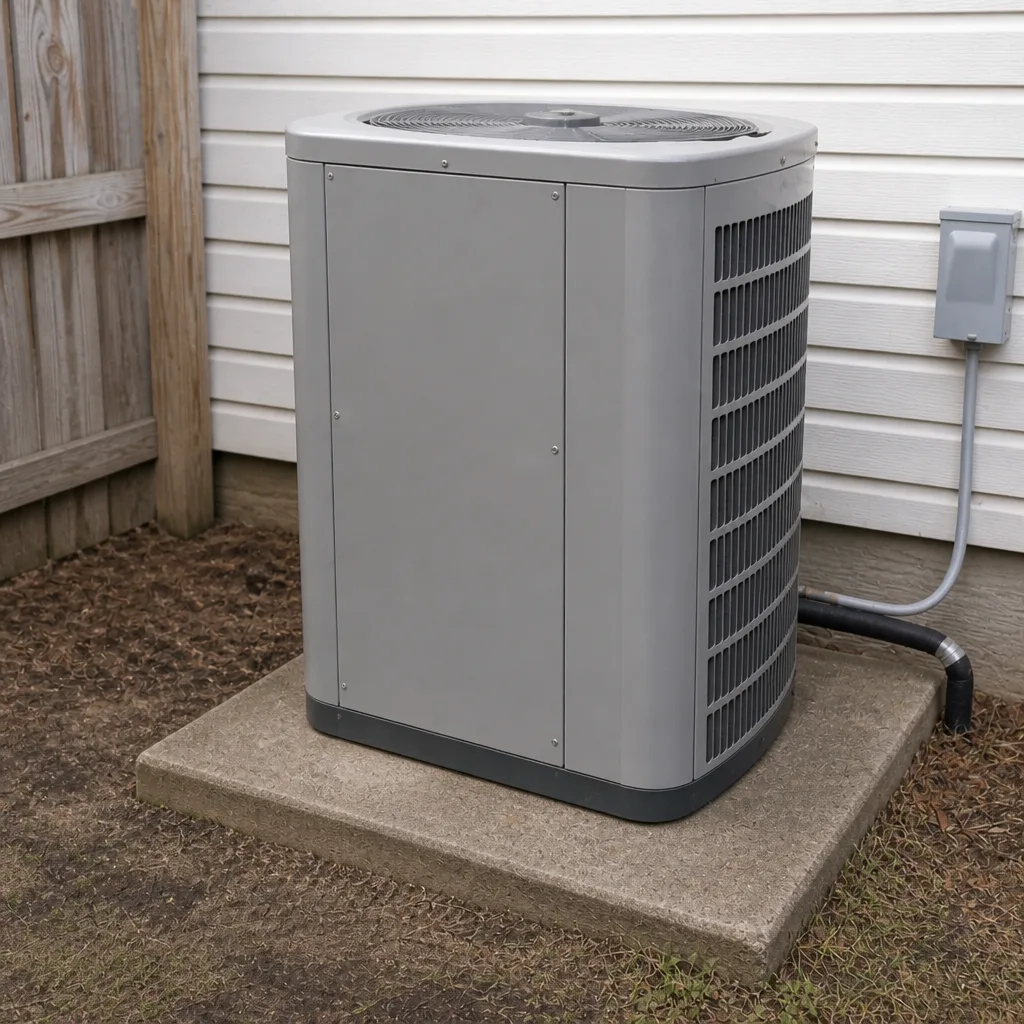 After
When to Call a Professional
Call a technician – not the internet – for anything involving refrigerant handling, the electrical panel, breaker trips, gas piping on the heating side, or water pooling inside the cabinet. Every refrigerant line and every breaker in an HVAC system carries enough energy or enough pressure to injure someone who isn’t trained to work on it, so leave that work to a licensed technician. The same goes for stepping onto a roof or into an attic to troubleshoot a rooftop unit. If the symptoms are short-cycling, uneven cooling across rooms, water in the drain pan, or a breaker that trips more than once, that’s the point to bring in a diagnostic service rather than wait to see if it settles in.
Paragon AC Repair offers free estimates in Pasadena. Call (866) 982-5097. We answer 24/7. Fast dispatch from 7am to 7pm, Sunday through Friday. Our technicians have up to 9 years of experience across the equipment brands most Pasadena homes actually run, and the diagnostic starts with the installation record, not a sales pitch. A written estimate sets the price, and a service call outside dispatch hours gets booked into the next opening, not pushed to a voicemail box.
Frequently Asked Questions
Running for long stretches on a 95°F afternoon is normal and actually desirable – a properly sized system should run 15 to 20 minutes or more per cycle to remove humidity. What’s not normal is a system that runs continuously and never reaches the thermostat setpoint, or one that cycles every 5 minutes. The first points to sizing or charge problems, the second to oversizing or a low-voltage wiring error. Call (866) 982-5097 for a diagnostic estimate.
Oversizing shows up as short cycles, cold but clammy air, and a house that reaches setpoint quickly and then drifts warm. Undersizing shows up as long runtimes, a system that never quite reaches setpoint on hot days, and a house that stays warm all afternoon. The only way to know which you have is a load calculation – a room-by-room heat gain calculation compared against the equipment nameplate. Ask your installer for that calculation in writing; if they can’t produce it, they sized by eye.
Water around the air handler in Pasadena almost always comes from a condensate trap that wasn’t built to the right depth for the system’s static pressure. The blower can overcome a shallow trap and stop the drain from draining, and the pan overflows. A plugged primary drain, a missing secondary float switch, and an oversized system that never runs long enough to dry the pan all contribute. A technician should test drain flow under operating pressure, not just pour water in the pan and watch it leave.
On a system installed within the past year, demand a leak test. A properly installed system doesn’t lose refrigerant. A technician should perform a standing-pressure test and an electronic leak detection on every joint, or at minimum a nitrogen pressure test if the system is already low. If the leak is at a braze joint or flare the installer made, the repair and recharge are the installer’s responsibility – call (866) 982-5097 for an independent assessment if you’re not getting a clear answer.
Yes. A workmanship warranty is a contractual obligation in Texas, and the state’s deceptive trade practices framework applies to home improvement work and to the way a warranty is honored. The keys are written documentation, dated photos, and a second opinion in writing that names the specific defect. Escalation usually starts with a written demand letter to the installer – most disputes resolve at that stage. For a system still in the first year, get the documentation together before the first cooling season ends.
We price every installation by written estimate after a load calculation and a walkthrough of the duct system, because equipment size, duct condition, and electrical work vary too much between Pasadena homes to quote blind. What doesn’t vary: the estimate is free, the price is set before the work begins, and no same-day installation happens on a job that requires a load calculation and equipment ordering. Call (866) 982-5097 to schedule the walkthrough. That’s also the moment to sort out the warranty and equipment selection questions while the options are still open. Paragon AC Repair has the estimates covered; the diagnosis is the free part.
The Bottom Line
If your new AC is misbehaving in the first 30 days, the problem is the installation, not the equipment. The three symptoms to act on are short-cycling (oversizing or refrigerant overcharge), uneven room-by-room cooling (duct design failure), and water around the air handler (improperly trapped condensate drain). Each of those has a specific diagnostic test – a load calculation, a room-by-room airflow measurement, a standing-pressure test – and each test produces a written result you can use to hold the installer accountable under their workmanship warranty. Document everything with dated photos and written requests, and don’t accept a band-aid fix that hides the problem until next summer. If you’re in Pasadena and want an honest second opinion from a brand-agnostic specialist, Paragon AC Repair is reachable at (866) 982-5097, and the estimate is free. Whatever brand you have, we know it. Heating or cooling, we handle both.
Written by the team at Paragon AC Repair.